

For the people who want to know….. this goes back to the winter of 1890-91.
Progres but …
Still so much to finish.
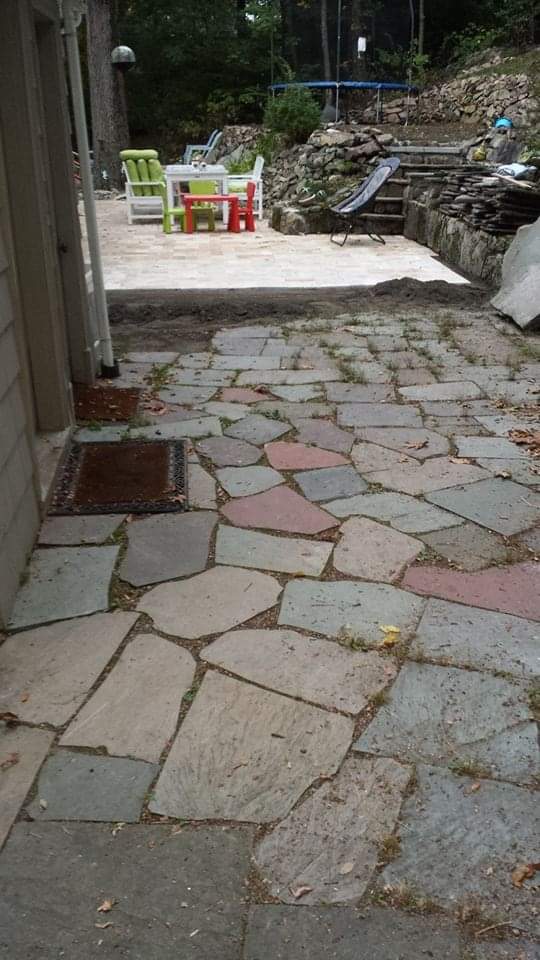
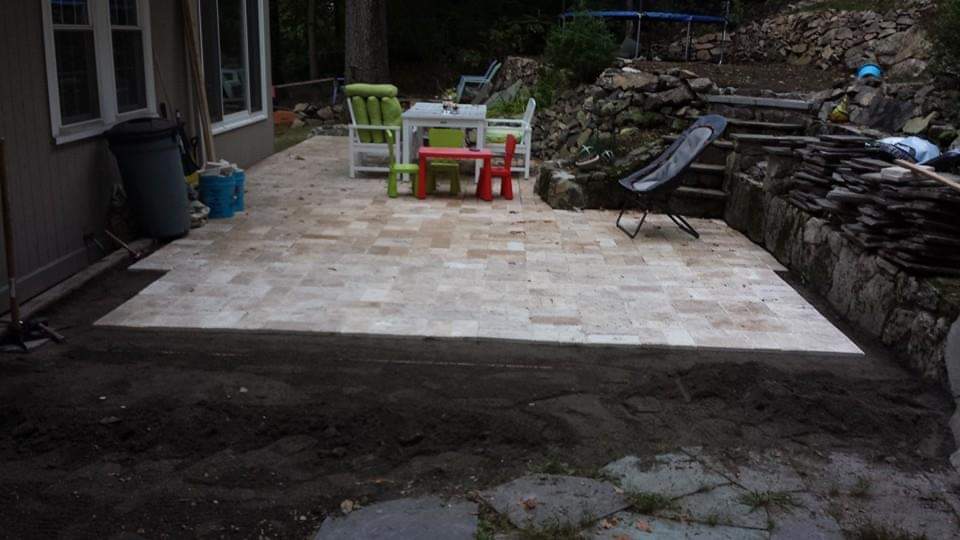
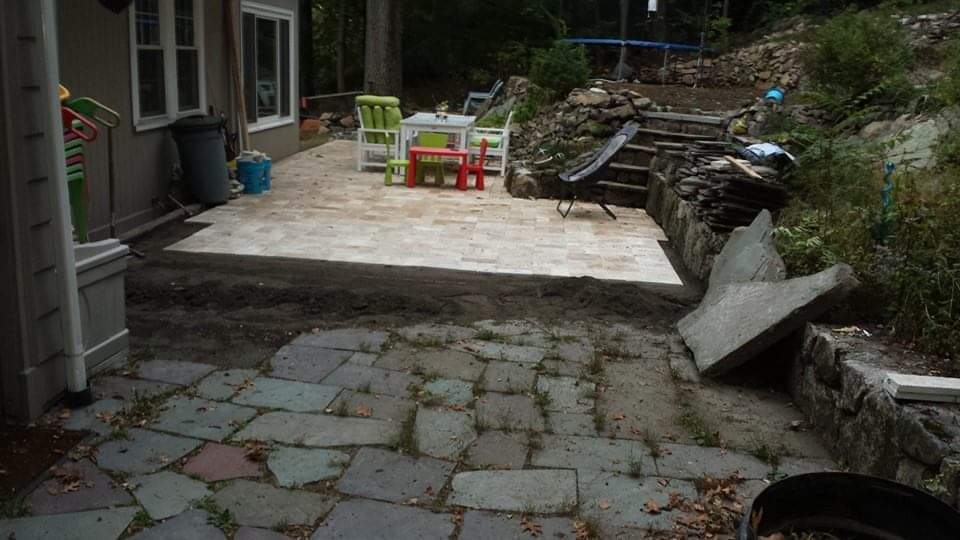
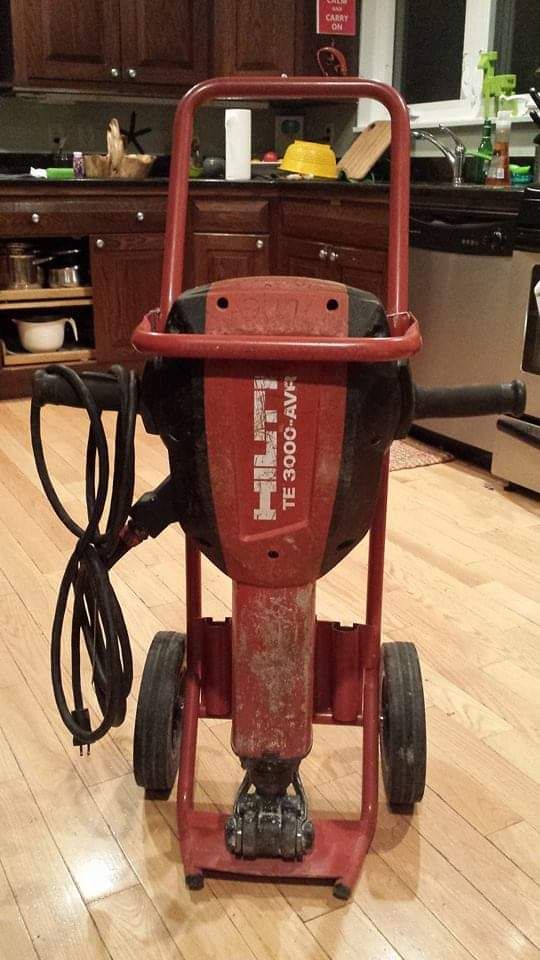
Jackhammer
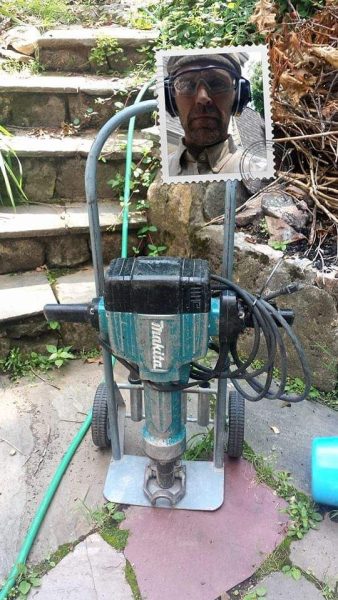
If you ever have to jack hammer away, always choose the HILTI it is so much better. Apart from getting much more done in a given time intervall, the active vibration reduction makes it so much better on the next day.
Treework
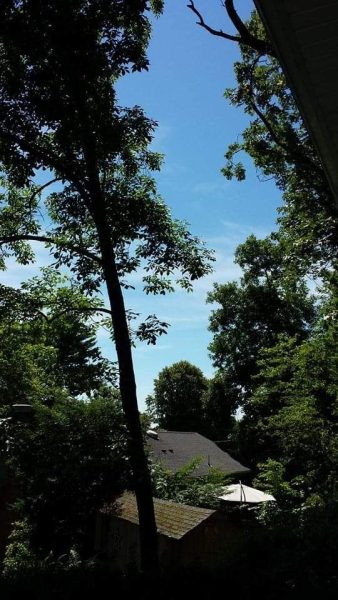
Huge oak tree over our neighbors house gave up an had to be taken down. Sad but now we have lots of blue sky. The microclimate in our yard has again substantially improved.
Late Christmas guest

This guy came out before Christmas, but he is still hanging out in our staircase….
Catching up
All baseball and soccer practice canceled for today…. Blake and Markus are catching up on some gaming not much time for that recently.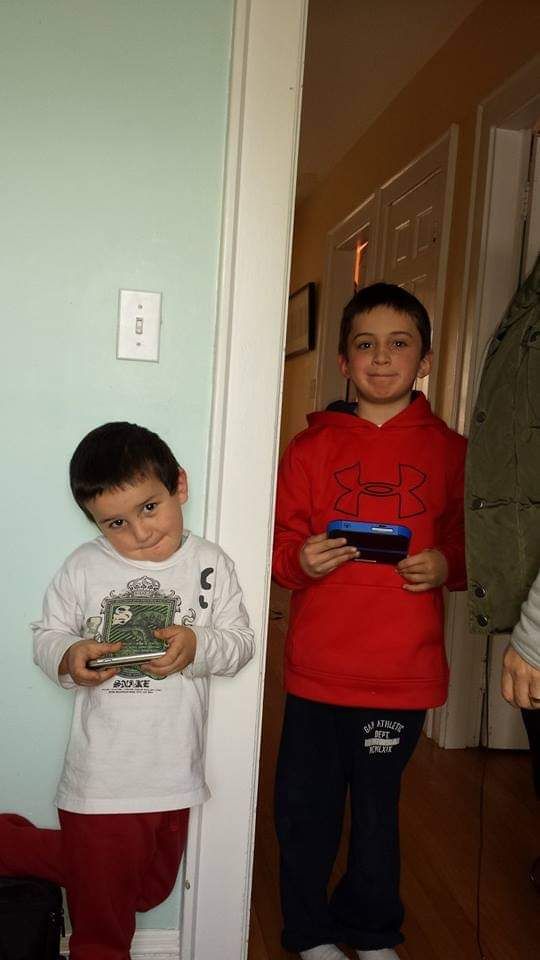
The ‘New Playroom’
It has been a while since my last post but I a determined to improve. The last project in the house was out play room for the kids. On the long run we want a nice wood floor and possibly even redo the wall right under the roof but that is a major project and needs time and money both of which are not available in abundance these days.
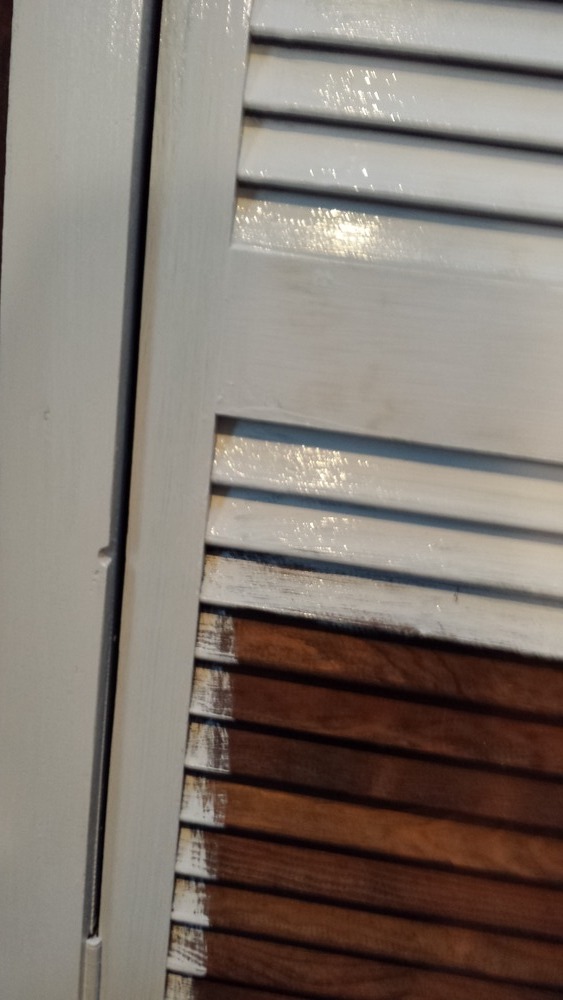
So, I looked at the situation to see what could be improved with some time and some money and it struck me: the wood paneling and all the build-in furniture are all super dark stained wood. The dark color combined with the small windows in those two rooms takes away all the light. This is why I thought let’s lighten this room up and just paint over the dark stained wood in white color, typical New England style and much against all I learned from my father, to leave the wood in it beautiful natural color. To set some nice accents and as those are the future rooms for our oldest Ana and I decided to paint the window frames in a strong color. We choose green for the back room and orange for the front. In the front we were also going to paint the build-in shelve in orange, it had this really awful color: a light red going towards pink, how could anyone choose this color in the first place?
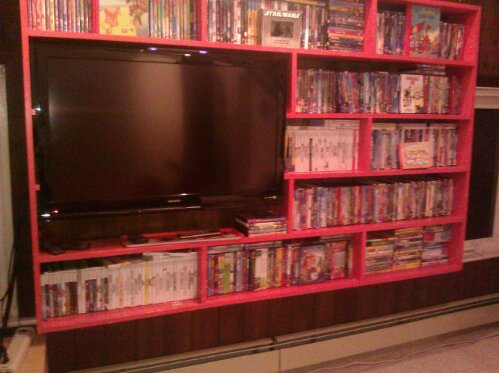
Anyway there we were, the painting was painful, the grooves between the panels clearly require a brush and no rolling and the dark color clearly required two passes for a good fraction even three passes were required to avoid the dark color to come through. Painting the doors for the build-in shelves was dreadful with all the blind style which has remarkably many spots you can miss :-).
The first real hick-up though was the choice of the green color for the back room accents. Ivan and I went off to ACE hardware to make our choice with Ana giving us her trust. We went for the beautiful ACE color F34 ‘Dragon Lair’ but it did not meet approval with the boss: it is easy to pick the wrong green I had learn. Ana and I had to go again and we converged on F31 ‘Hearty Hosta’. Thanks to this little back and forth our
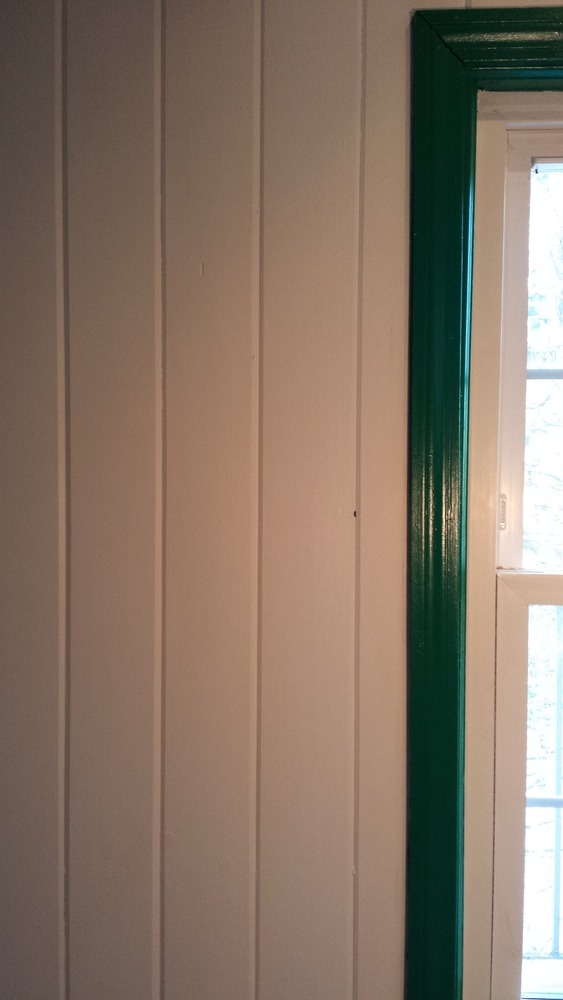
window has now about six layers: three Dragon’s Lairs and three more Hearty Hostas.

Luckily, for the orange tone Ivan and I succeeded on the first try with the somehow obvious F19 – Juicy Orange. Here is a sequence showing how things developed. The painting of the shelves took some time and I had to decommission the video system (including TV, DVD and video consoles) for a week. Our kids dealt with it but not without Markus reminding me every day that I had to complete the job, which I did yesterday night, one day before the deadline I had promised them.

The remainder (the orange skylight and the left wall in the front will still take me some time but it is already now clear that the project was a resounding success. The new playroom has so much more light and looks so much more friendly.
The take home message for today is: Never underestimate the effect of a (decent) paint job!
Backhoe
I would like to have this tool just for a few days for my front and backyard. 😉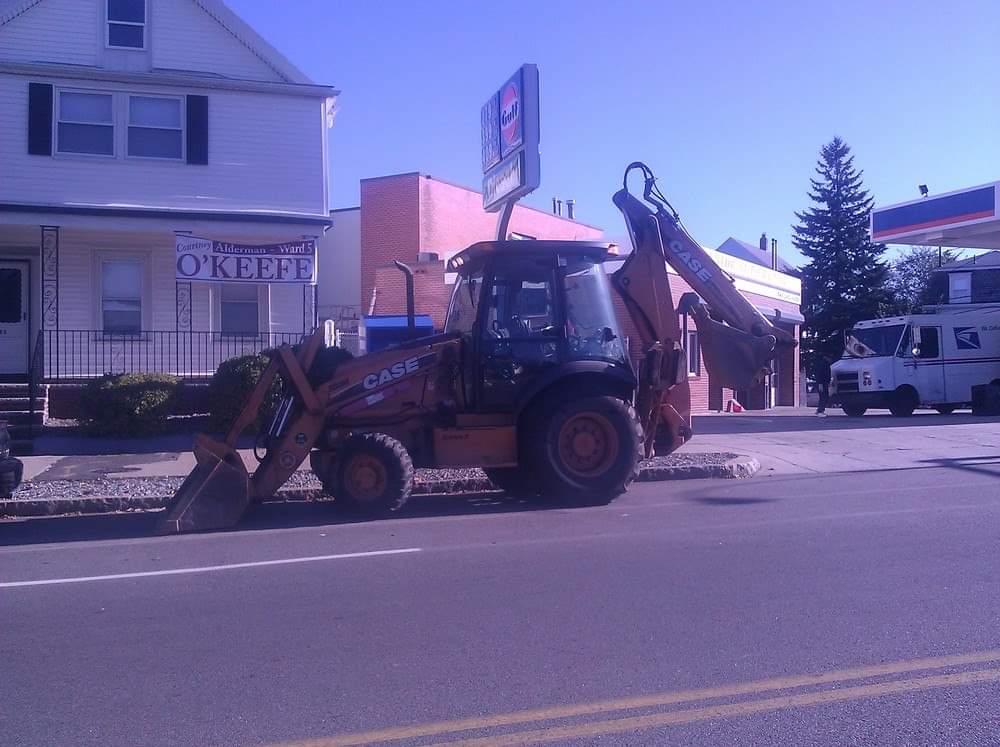
Tree clearing
This tree was in the way of the sun, it was dumping all his stuff into our pool and it was not really beautiful either. So, this is what happens to such trees in our garden.
Missing video.
The Wall


Wall and patio, part 1 and 2
It all started with our idea to construct a deck alongside of our much beloved sun room…. only when walking behind our house on the patio is stops and one has to continue to walk on the grass along the short end of the sun room extension and then around the corner to get to our so far just immaginative deck. The green is not particular beautiful and of course it is sloped. Bottomline: not a very nice entry point for our deck in spe. Together with the possible plan to put our over the ground kid pool their we decided together (Ana and I) that we would level the terrain and extend the patio with stones in preparation for our deck.
Shortly after the dig started we hit some rocks and it became clear that it would take longer. So, to have the pool reasonably quickly installed I started a second dig to extend our existing terrace so it would hold the 14 feet diameter pool. Soon the garden looked like a huge construction site ripped open on all ends. Even the front was affected as I was putting the dirt from the first dig there to extend our lawn right in front of the house. Retaining walls also there had to be constructed so that for at least two long weekends everything looked like a mess. By now the swimming pool dig is completed with a nice retaining wall and a very nice and inexpensive pool installed. The kids love it and use it every day at least once. The second construction site in front of the house with its retaining wall is also complete and today I cut the freshly planted grass for the first time.
The patio extension is also making good progress, the somewhat scary larger scale wall turned out to be my best wall as of yet though I have to start using some devices to make it more even. It has a very handmade look as it has some uneven parts that I could have easily avoided using a stick to maintain the same slope in the wall. Anyway it it very nice and at some point I will redo it and make it straight.
